How to connect Cymasphere on iOS (iPhone or iPad) to your DAW on MacOS (laptop or desktop computer)
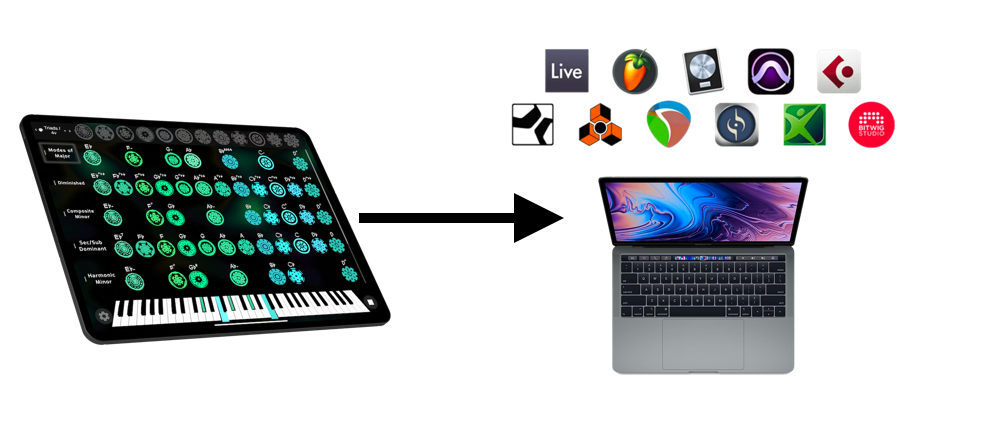
Getting Connected: #
Watch the video here.
Steps:
- Physically connect iOS device to laptop or desktop computer (with USB-C, Thunderbolt, or Lightning cable)
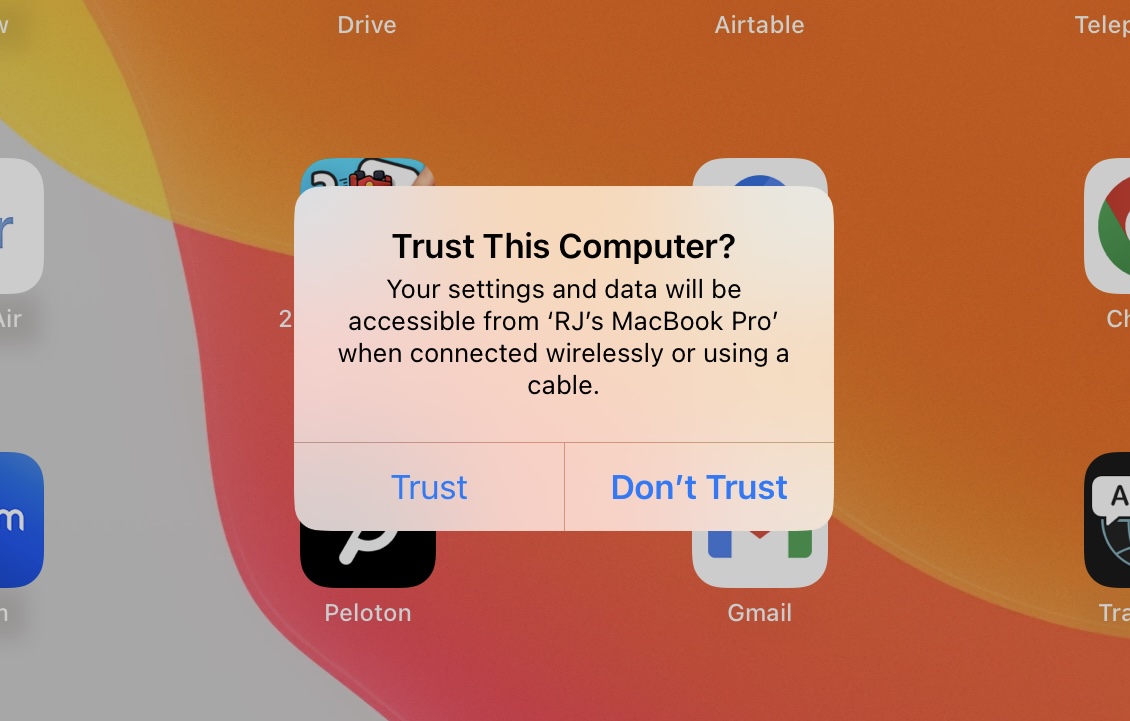
- Make sure iOS device is unlocked – When prompted to trust computer, select ‘Trust’


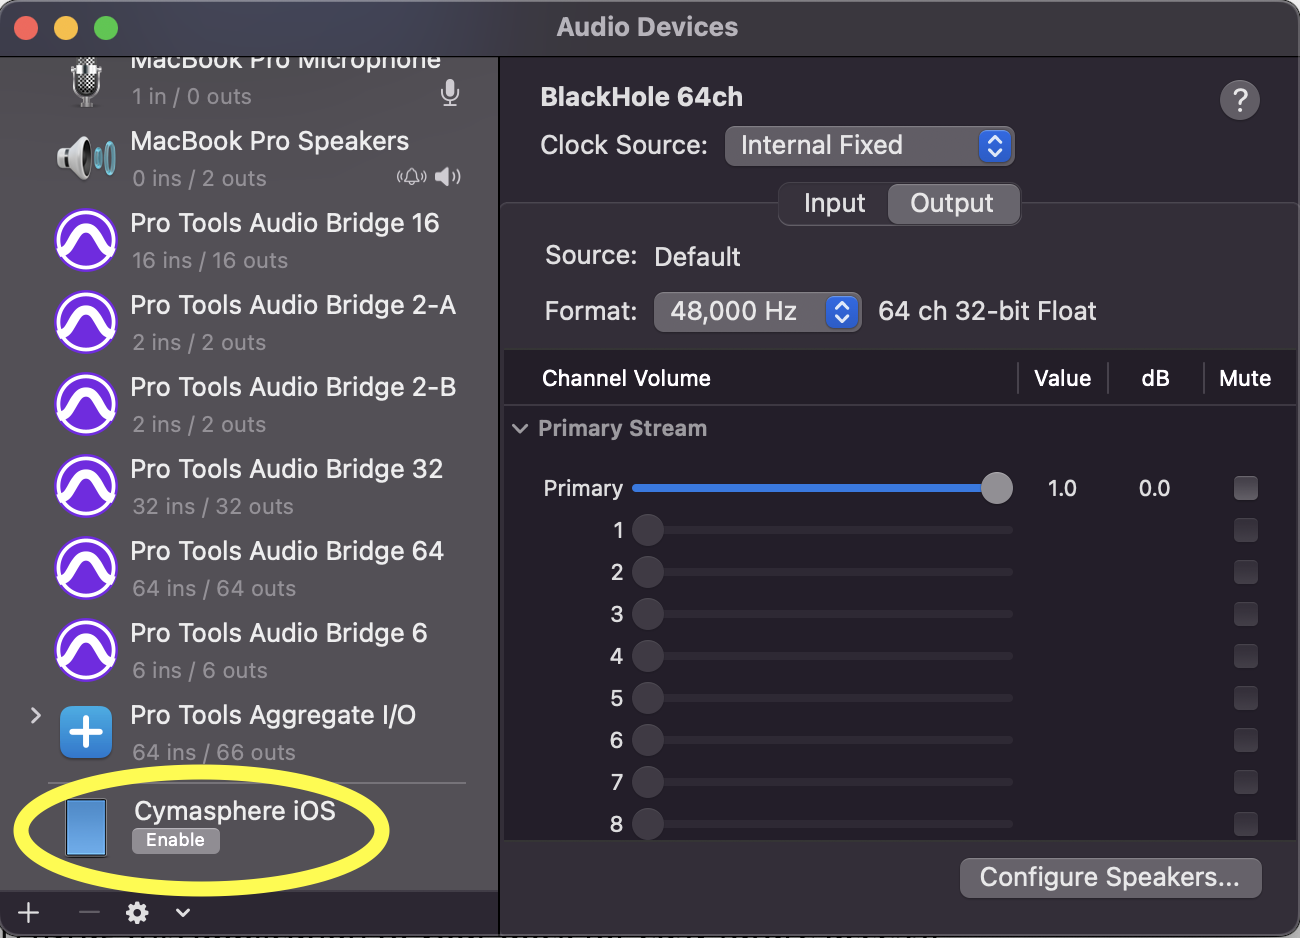
- Open ‘Audio/MIDI Setup’ located under Applications > Utilities folder. (Drag this application to your dock for easy future access)

- In Audio/MIDI Setup, scroll down to your iOS device, and select ‘Enable’

- Open Cymasphere on your iOS device
- Login to you Cymasphere account
- In the sidebar, open the Audio Sampler menu

- Disable the built-in sampler (we want to hear audio from the DAW, not the sampler)

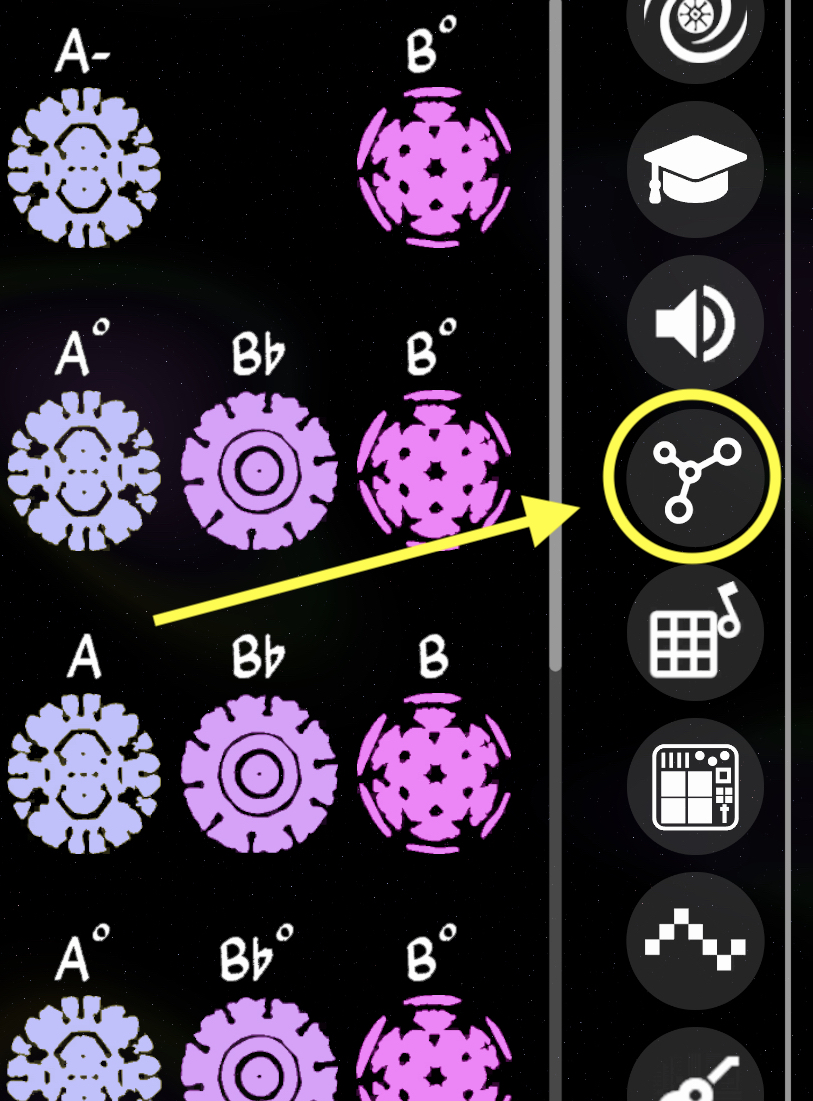
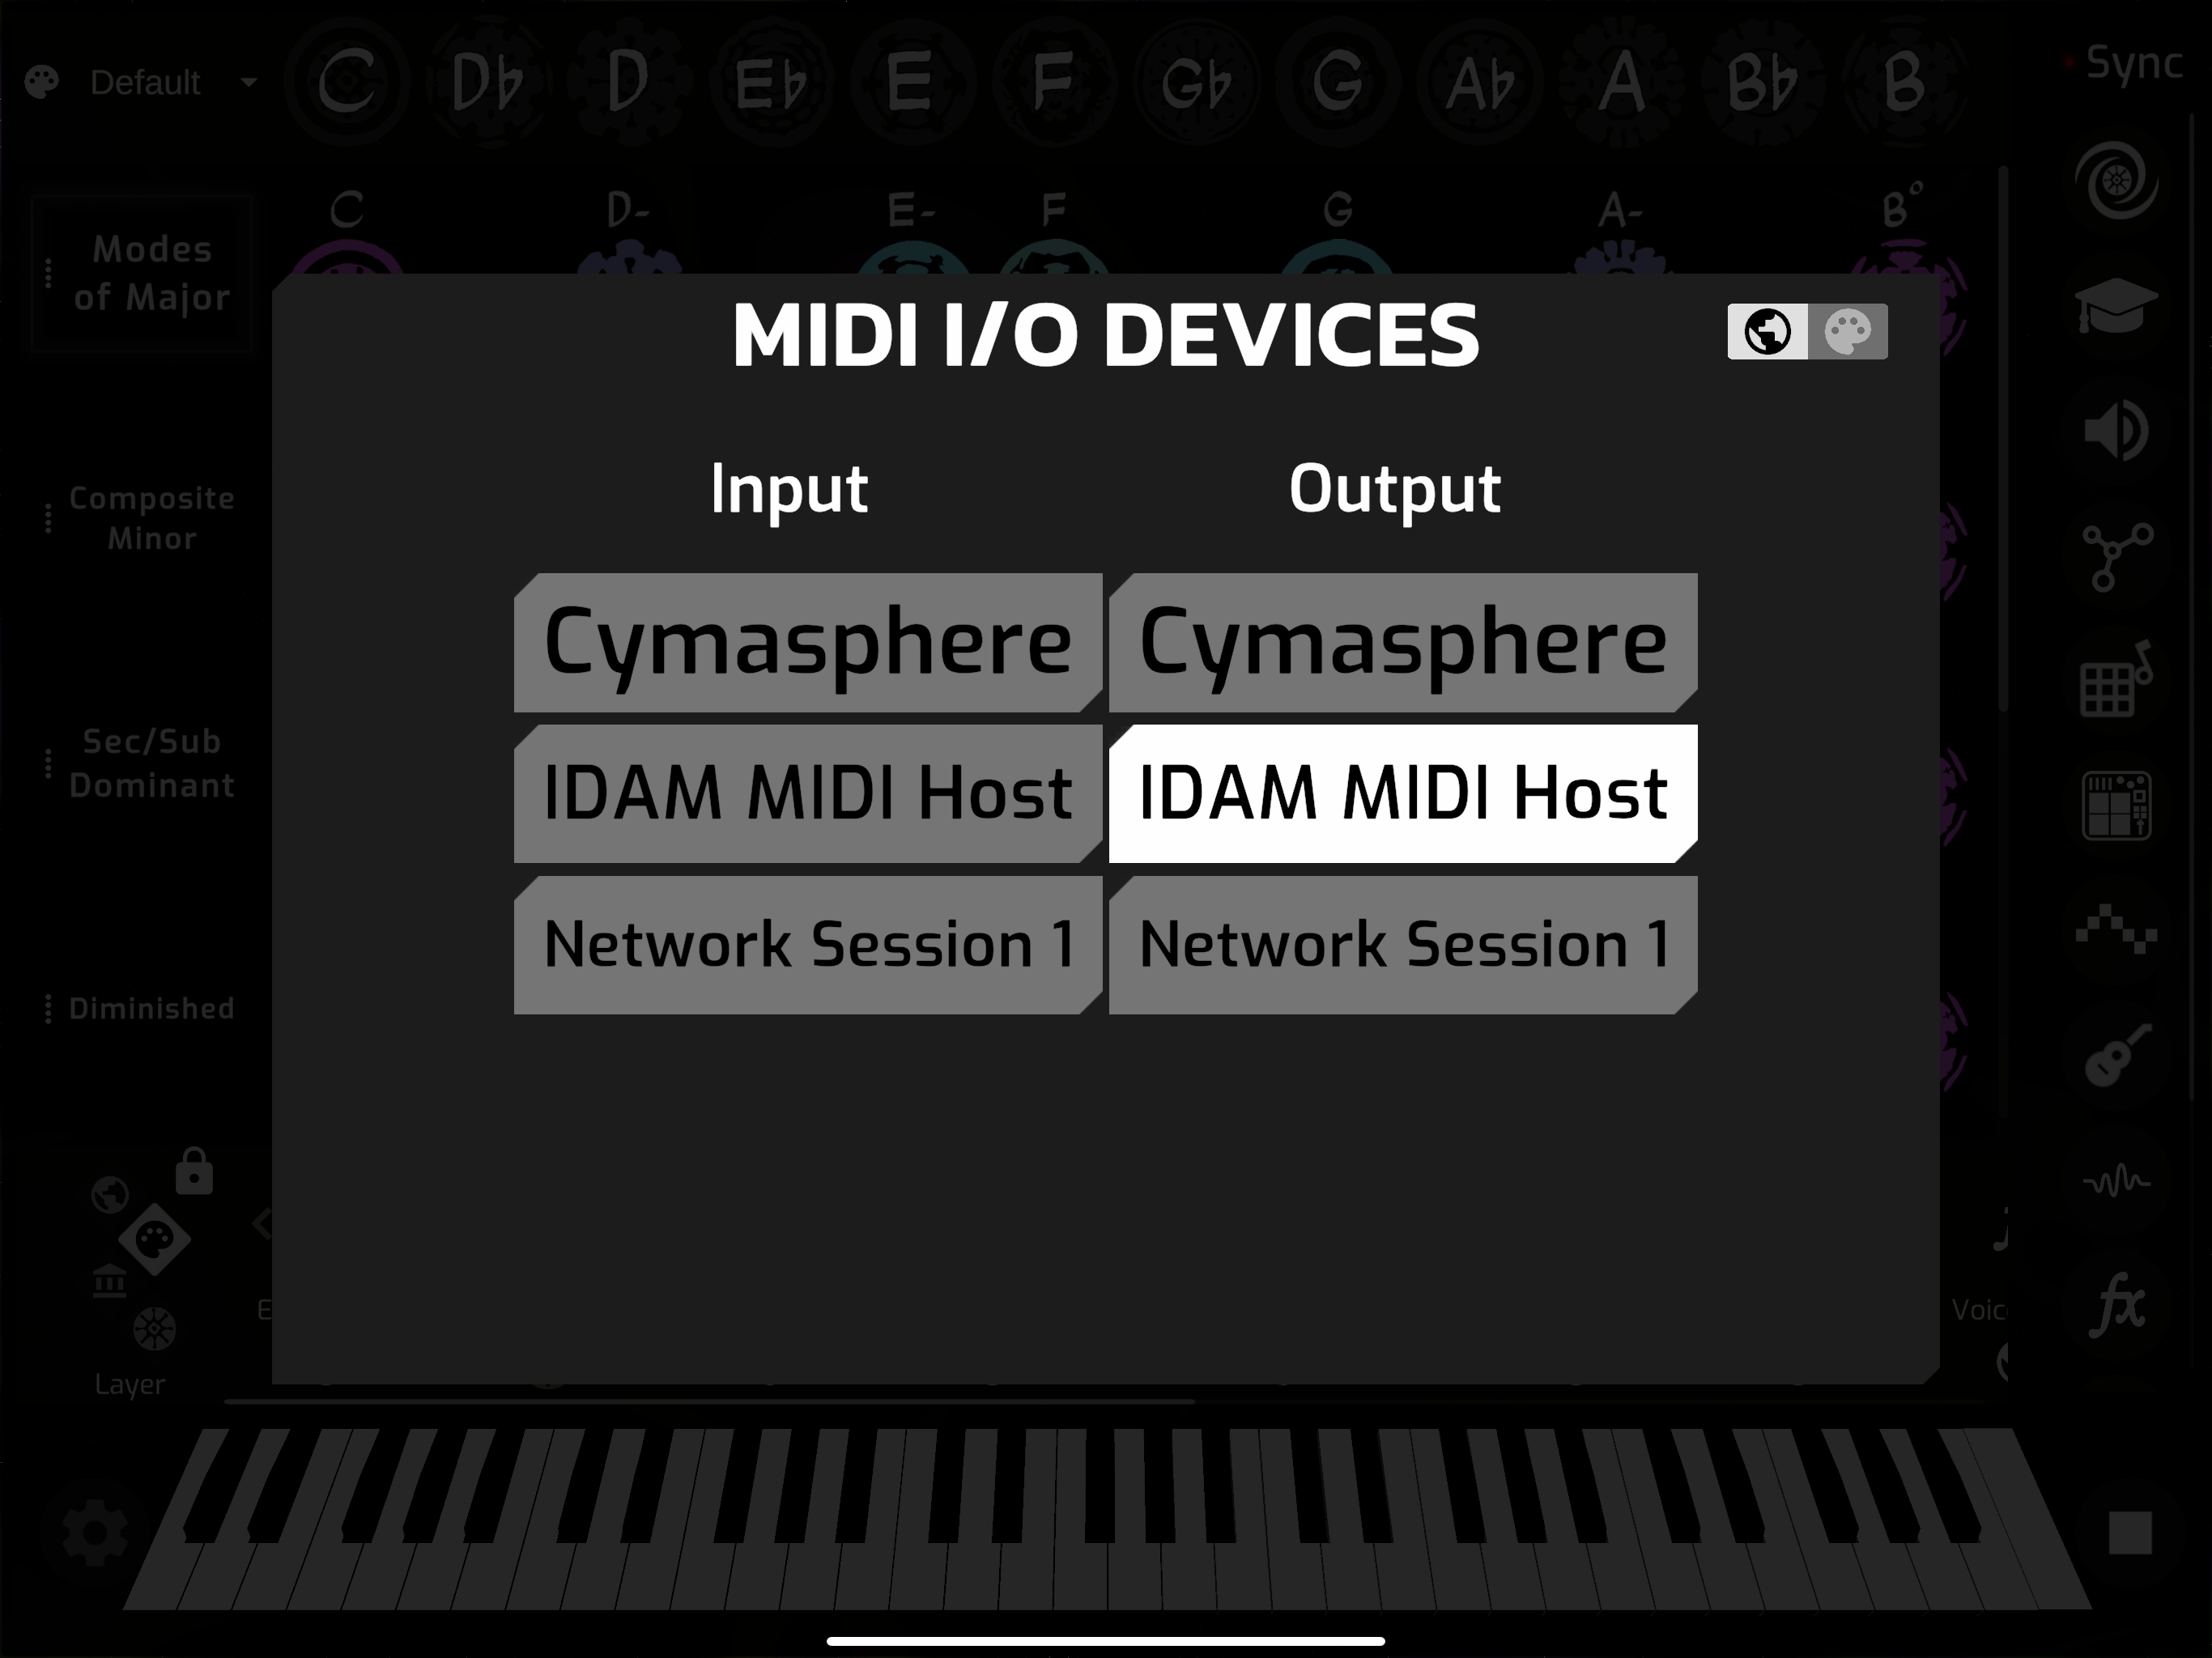
- In the sidebar, open the MIDI I/O Device menu

- Under Output devices, select ‘IDAM MIDI Host’

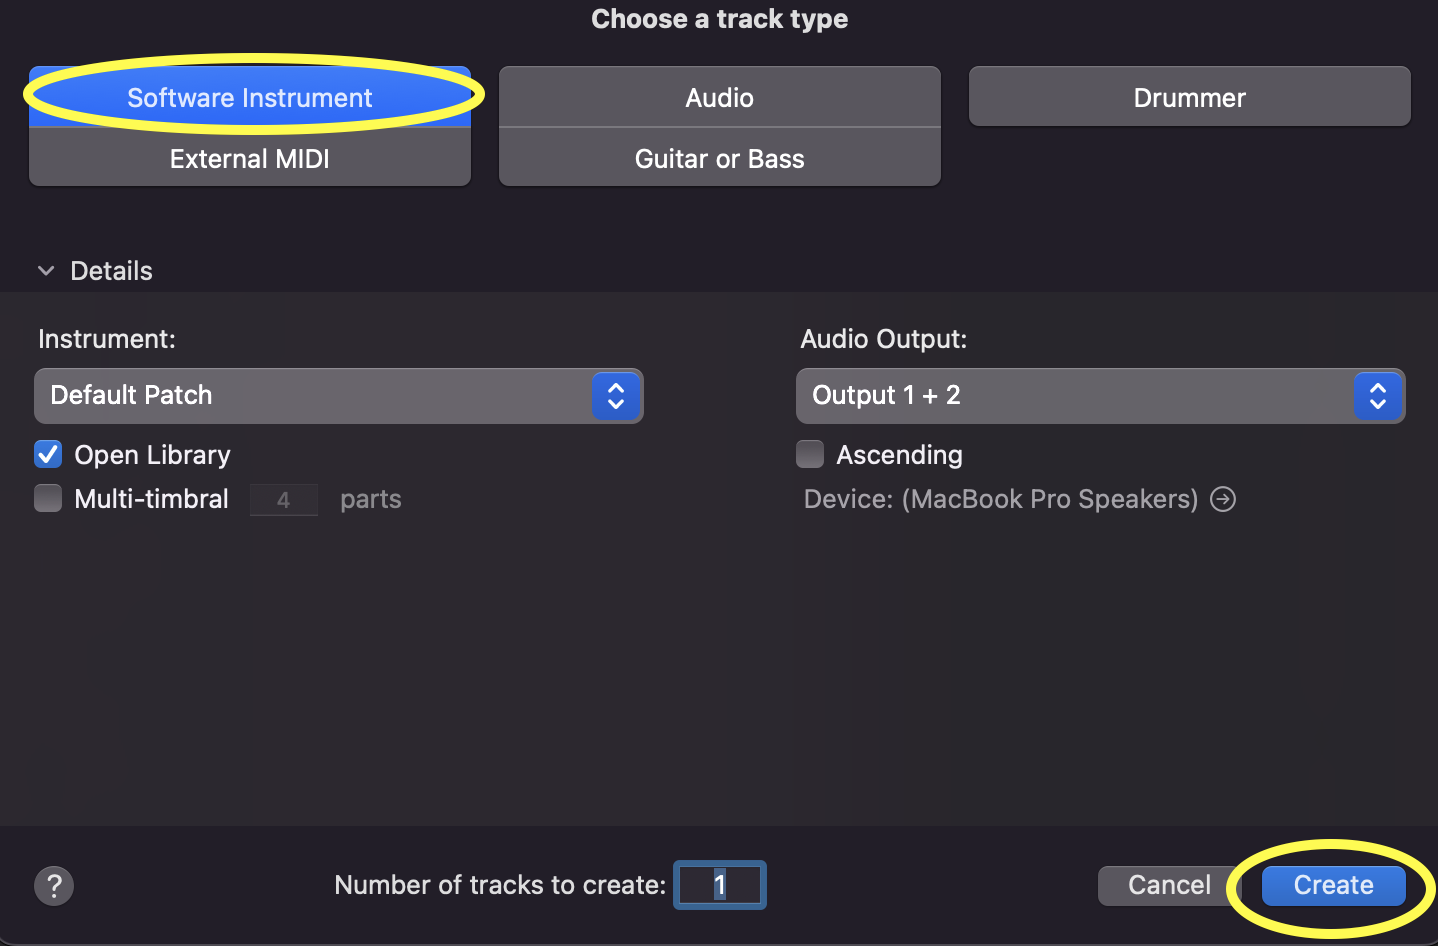
- Open your DAW, and create a virtual instrument track (also called software instrument)

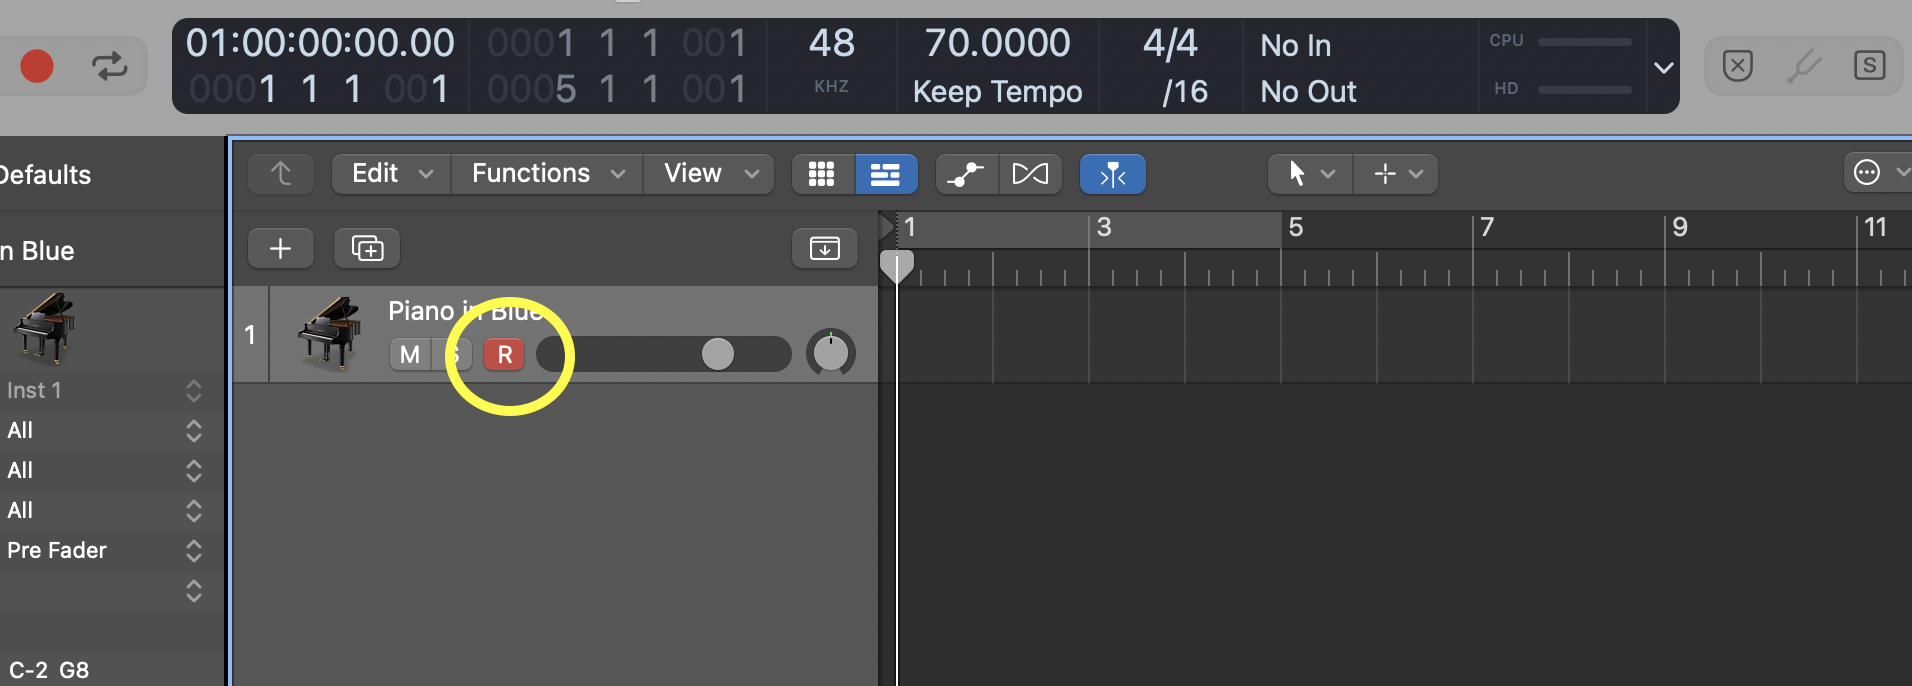
- ‘Record Enable’ your instrument track (also known as ‘arming’ a track)

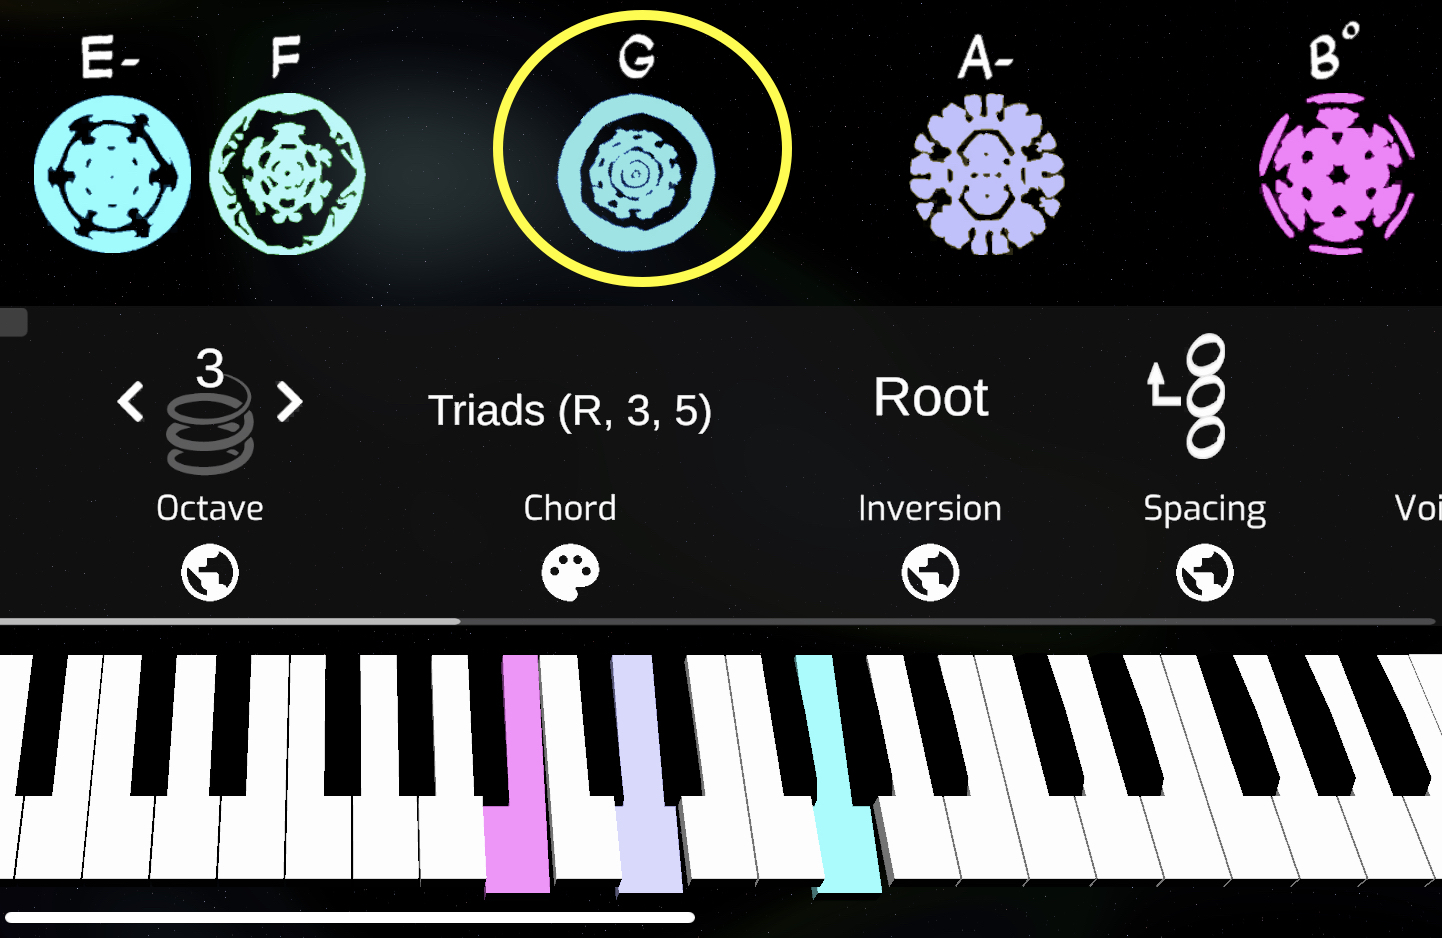
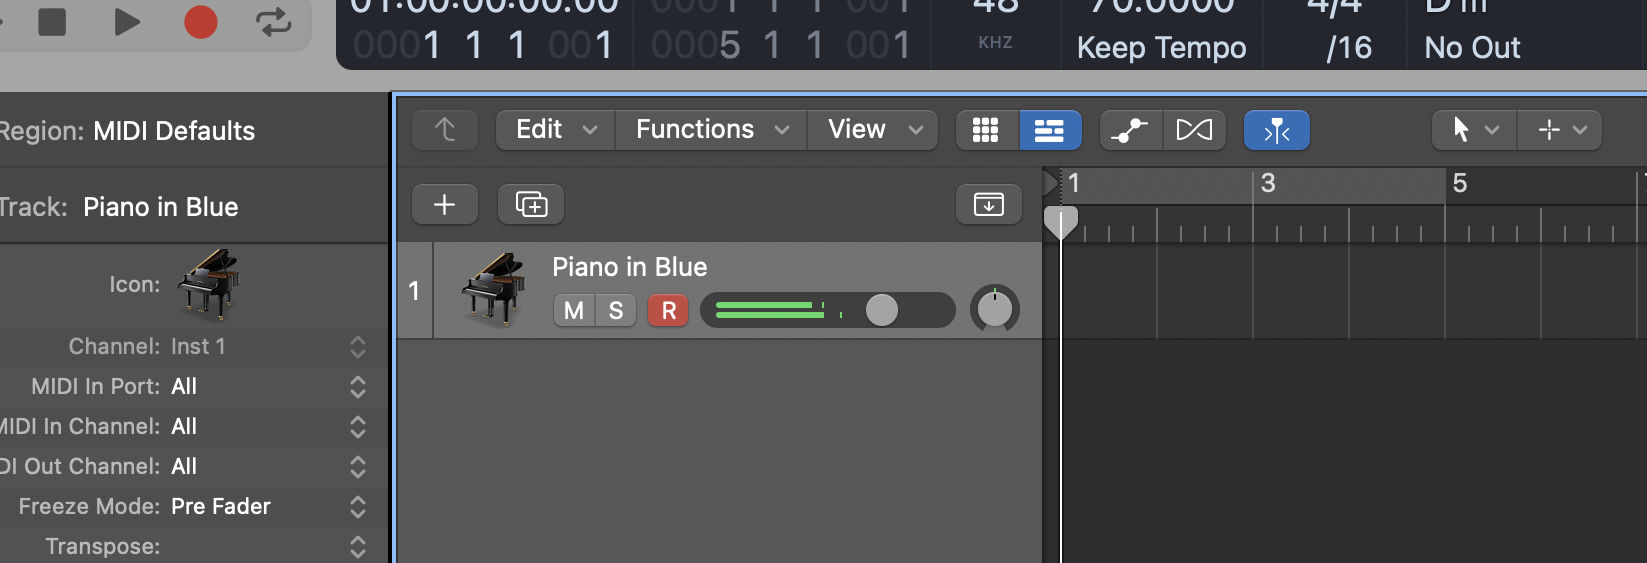
- In Cymasphere, start pressing the cymatic buttons. You should hear audio and see signal metering in your DAW.


- Great! You should be connected! To sync Cymasphere’s sequencer with your DAW, read this article.
Still not hearing audio?
• In your DAW, ensure that ‘IDAM MIDI Host’ is enabled as a MIDI input device.
• On your instrument track, make sure the MIDI input device is also set to ‘IDAM MIDI Host’
• In Cymasphere, open the Voice / Channel Matrix from the sidebar, and confirm that each voice is being sent out of at least 1 MIDI channel. (By default, each voice sends out MIDI channel 1)
• We recommend using MIDI Monitor (free MacOS app by snoize) to help troubleshoot MIDI signal flow on MacOS.
• We recommend using MIDI Scope (free iOS app by Kinematic Systems) to help troubleshoot MIDI signal flow on iOS.

